How-To: Use Blend Modes for Effect
Sometimes you'll see black and white photos with an unusual feel to them, and you'll no doubt wonder how they did that. Many times, the answer is that they used layers and blend modes in Photoshop. This is how it's done. The same method can be used with color photos, but I find that it's more applicable to black and white images.

First, open your picture in Photoshop.

If it's not already black and white, convert it using your favorite method. See "I Hate Hue" for one such method. On this picture, I used the Channel Mixer (Image > Adjustments > Channel Mixer), clicked on monochrome, and went with 0% red, 100% green, 0% blue.

The next step is to create a new layer identical to the background. Go to Layers > Duplicate Layer.
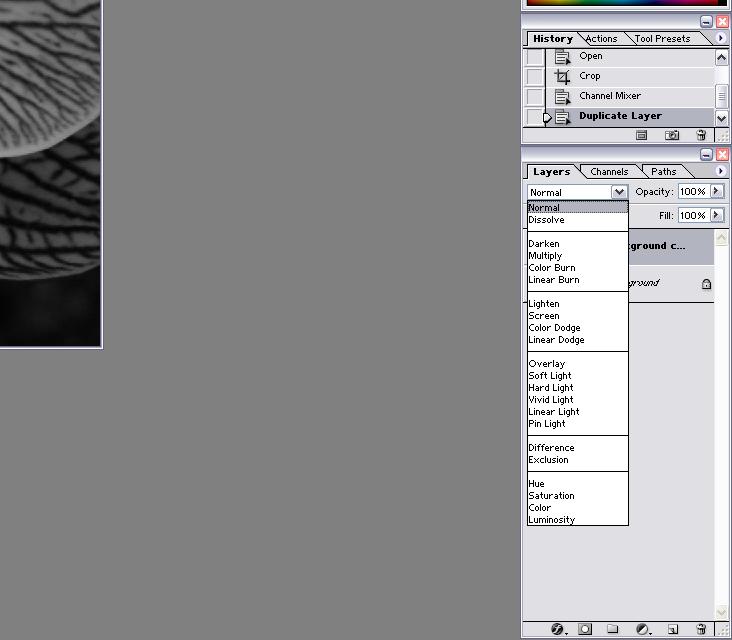
Then go to your layers palette to select your blend mode. Make sure your new layer is selected. Click on "Normal" to see the different blend modes. You could keep clicking and picking, but since you won't know what blend mode will look the best, I just click it twice and then press the down key to cycle through them until I find one I like.
Often, the Multiply mode will yield the most interesting results. On this particular image, I like the Soft Light mode for a more subtle effect.

This will many times make your picture too dark or too light. Create an adjustment layer by going to Layers > New Adjustment Layer > Levels (or any other one which you might need). After you do that, you might want to check out the different blend modes again to see if you overlooked one because it was too dark or light. If you change anything, double-click the adjustment layer and make any changes to that if necessary.

Then, when you're satisfied with the result, go to Layers > Flatten Image, and then File > Save As (so you don't write over your old picture). Now it's ready for toning or any other adjustments that you'd like. See "How-To: Split Toning" or "More on Toning" for some tips on that.
Blend modes also have other applications which I'll discuss another time.
And, of course, if you use this method, I'd like to see your results in the Flickr pool.
posted by Full Metal Attorney @ 10:14 AM
6 comments
![]()

6 Comments:
Thanks for this great blog. I always wanted to learn Photo Editing by myself..
thank you very much
thank you very
Thank you so much for this beautiful Article
Thanks! I use PhotoShop every day here in college and I can never make things look as good as I hope.
I seen your profile says you like Jet Li movies, cool so do I. He's one of my favorite actors, not to mention very attractive in my opinion.
Thanks! I use PhotoShop every day here in college and I can never make things look as good as I hope.
I seen your profile says you like Jet Li movies, cool so do I. He's one of my favorite actors, not to mention very attractive in my opinion.
Post a Comment
<< Home